Level: Beginner // Reading Time: 5min
There is a wealth of third party content out there for Ableton Live, but its not always clear how or where to install it.
This guide walks you step by step through the simplest way to install and use custom content in Ableton Live.
If you’d like a much more detailed overview of everything you need to know about file management in Live, I’d recommend watching this video.
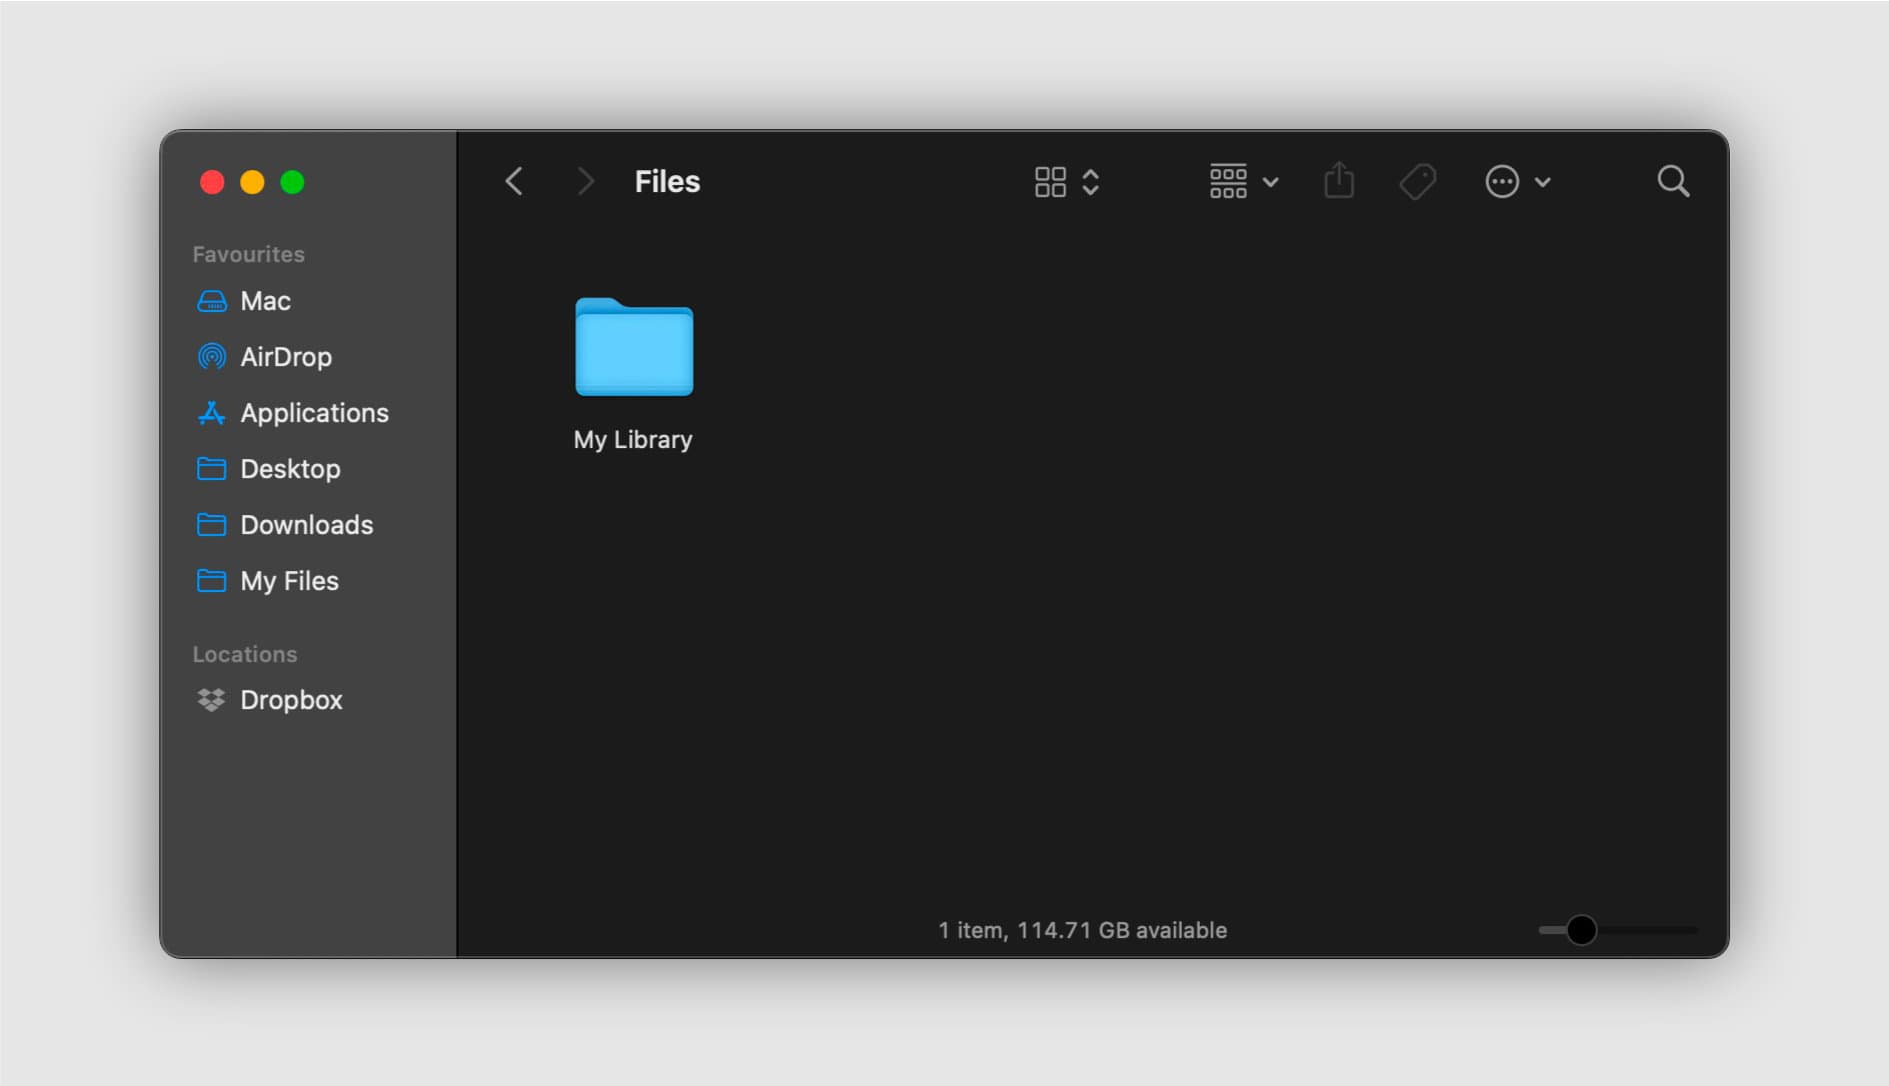
In order to keep all your custom content in one place for easy access it’s recommended to create your own custom folder that will hold all third party content going forward.
You can do this anywhere on your computer (just make sure you remember where you saved it) and call the folder whatever you want, for example, something like ‘My Sounds’ or ‘Custom Content’.
You could also save your custom folder to a cloud service like Dropbox or an external hard drive. Just remember that you might need to be connected to the internet or have the hard drive connected to access the content.

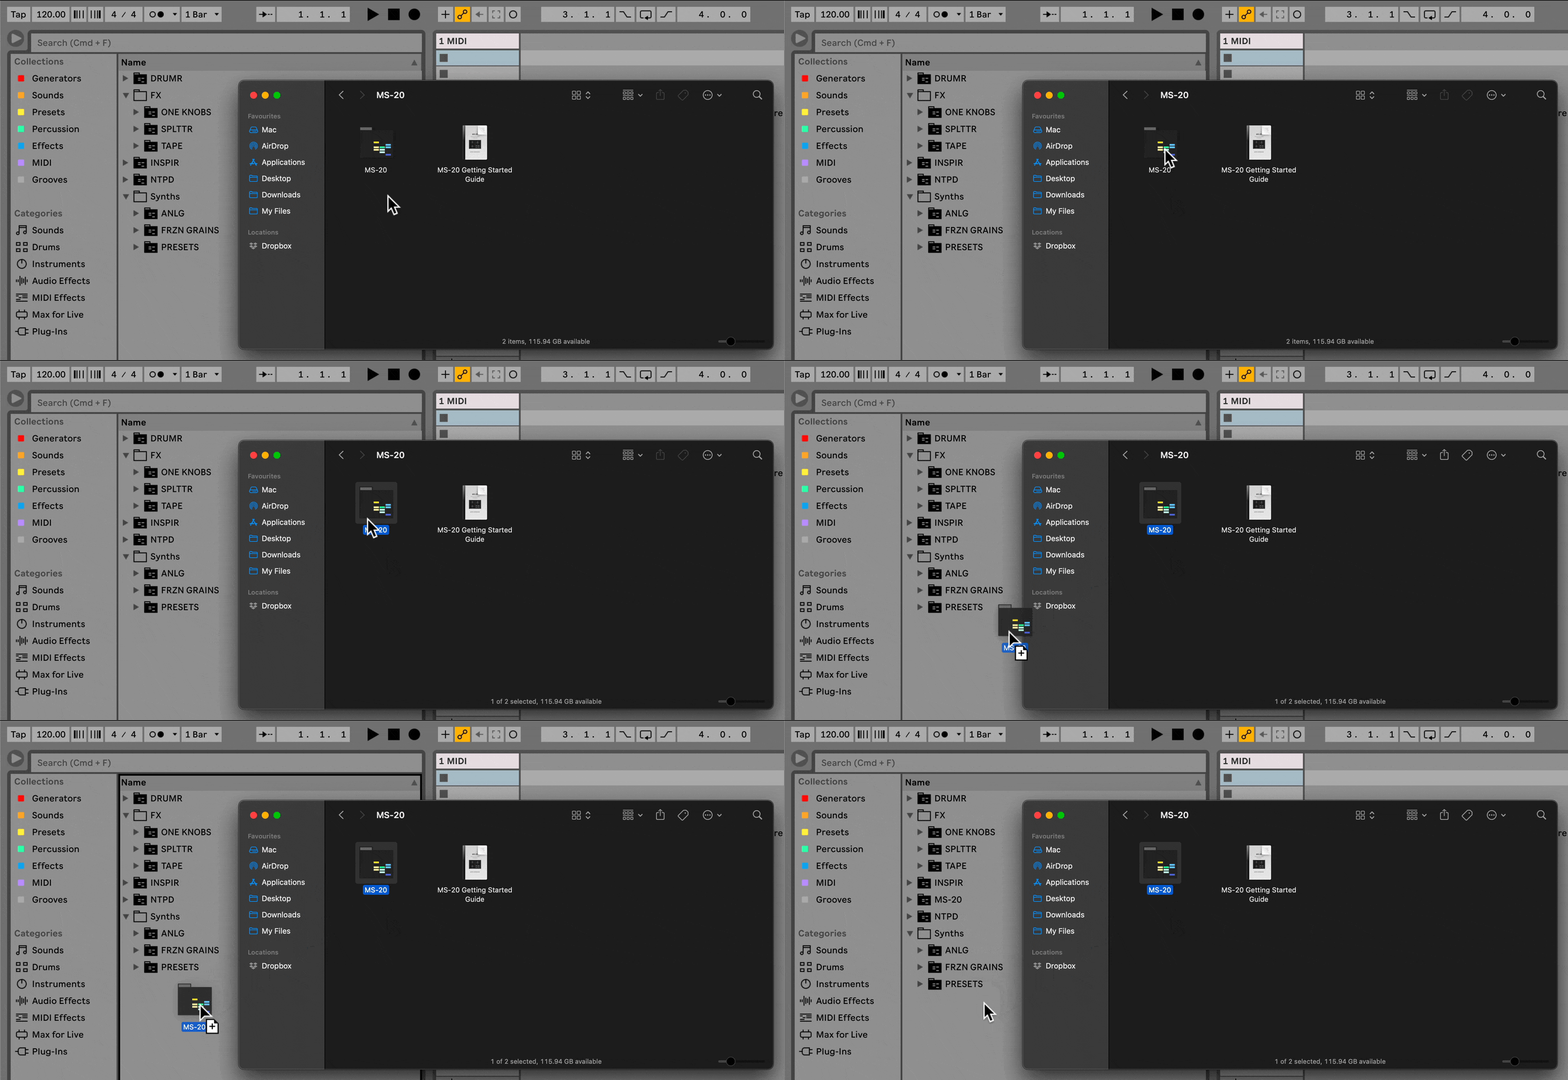
Next, you can add the custom folder you created in Step 1 to Live’s Browser for easy access.
In Live, click the ‘Add Folder…’ button at the bottom of the Places section and navigate to the folder you created before.
Your custom folder will now show up in The Browser.

Now, all you need to do is save any custom content you download to this folder and you’ll be able to access it from within Live.
To do this, drag and drop the content directly into your custom folder. You can organise your folder however you like, including creating sub folders.

There are a few different kinds of files you might encounter when working with custom content for Ableton Live, so its worth knowing a little bit about each one.

These are Ableton Live Device or Ableton Live Rack files respectively.
Individual .adv or .adg files are the easiest files to work with because they can be saved anywhere and you can simply drop them onto a track in Live to use.
When installing this kind of content you can move these .adv or .adg files to anywhere you like. The only exception to this is if the files are within an Ableton Project Folder and might contain external sample or file dependencies. In that case we have the next kind of file…

Encountering an Ableton Project Folder usually means the files you are dealing with have some kind of sample or file dependencies to work properly.
Inside this folder you might find .adg files as well as additional folders like ‘Samples’ or ‘Ableton Project Info’. Its important that all these files stay within the Project Folder, so as not to become broken.
When installing these kinds of files it’s important that you don’t remove any files from the Project Folder and that you copy or move the entire folder when installing the files.

.amxd files are Max For Live device files.
These are quite easy to work with because most Max For Live devices are self-contained. You can save these files anywhere you like and simply drag and drop them onto a track in Live to use.

The final file type you might encounter when working in Live are sample files like .wav, .aif, etc. These contain audio data.
These can usually be saved wherever you like and dropped straight into Live to use.
You should now know all the basics of installing third party packs and content into Ableton Live.
Even so, there are some rare exceptions to all of this, or more custom setups that you can use if you’re an aspiring power user.
To dive deeper into file management in Ableton Live here are some additional resources you can check out:
Share
Wanna be the first to hear about new ELPHNT packs, videos and workshops? Join the mailing list to stay up to date with everything new from ELPHNT.
Free forever. No spam. Unsubscribe any time.